How to Oil Wooden Utensils
You should oil wooden utensils whenever they look dry, dull, or after sanding; oil new pieces once. Wash and air-dry completely, sand any rough spots, then rub a teaspoon of food-safe oil (mineral or refined coconut) into the grain with a lint-free cloth, wipe away excess, and let cure 24+ hours. Don’t use the dishwasher or unrefined oils that can go rancid. Follow simple care steps and you’ll keep them smooth, durable, and food-safe—more tips explain timing, oils, and repairs.
When to Oil Wooden Utensils
When you first get a wooden utensil and whenever it looks dry, it’s time to oil it—don’t wait for cracks or roughness. You should oil new pieces after the initial sanding or light wash to seal pores and prevent warping.
Routine maintenance depends on use: oil weekly if you cook daily, monthly for occasional cooks. Watch for dullness, lighter color, or water beading poorly—those signals indicate dryness.
Routine care varies: oil weekly with daily use, monthly if occasional; dullness or water beading signal dryness.
Also, oil after exposure to heat or dishwasher-like conditions (avoid dishwashers). Use thin coats, let them absorb fully, and reapply until the wood stops soaking oil.
Regular timing prevents damage and prolongs life.
Clean and Dry Utensils Before Oiling
Before you oil, scrape and wash off any food residue so oil can penetrate the wood.
Rinse well with warm water and mild soap, then shake off excess moisture.
Let your utensils air dry completely—visible dampness will trap oil and prevent proper absorption.
Remove Food Residue
Since oil seals in smells and particles, you should always remove food residue and fully dry your wooden utensils before oiling them.
Scrape off stuck bits with a plastic or wooden scraper; avoid metal that can gouge.
Wash utensils promptly with warm water and mild dish soap, rubbing gently with a soft brush or cloth to reach crevices.
Rinse thoroughly to remove soap film.
For stubborn residue, soak briefly—no more than a few minutes—to loosen particles, then scrub and rinse.
Inspect joints and handles for trapped food, flushing them well.
Only oil when you’re sure all residue is gone.
Thoroughly Air Dry
How long should you let your wooden utensils dry? Let them air dry completely—typically 24 hours—until no moisture remains in seams or the grain.
Place utensils upright or on a rack in a well-ventilated area away from direct heat or sunlight to prevent warping or cracking.
Don’t towel-dry; fibers trap moisture and can transfer lint.
Check handles and joints for damp spots before oiling.
If pieces are thick, allow extra time.
Only oil fully dry wood so the finish penetrates evenly and lasts longer.
Proper drying prevents mold, swelling, and uneven absorption of oil.
Quick Oiling for One Spoon or Spatula
When you just need to treat a single spoon or spatula, a quick oiling takes only a few minutes and keeps the wood from drying or staining. Wipe the utensil clean and make sure it’s dry.
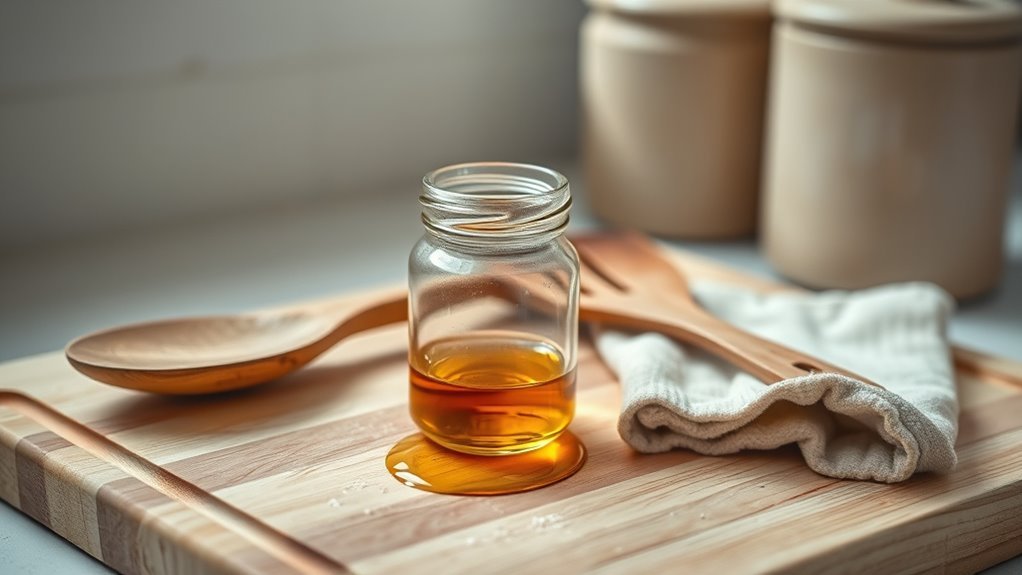
Pour a teaspoon of food-safe oil (mineral, walnut, or fractionated coconut) onto a clean cloth. Rub the oil into the head and handle, following the grain, until the surface looks evenly coated.
Let it sit for 5–10 minutes, then buff off excess with a dry cloth to avoid stickiness.
Repeat monthly or whenever the wood looks dull or slightly thirsty to maintain protection and finish.
Restore Cracked or Stained Utensils (Sanding + Oil)
If a quick oiling won’t hide scratches, stains, or small cracks, you’ll need to sand and refinish the piece to restore its look and strength. Start by cleaning the utensil, then dry it completely.
Use fine-grit sandpaper (220–320) and sand with the grain to remove discoloration and smooth damaged areas. For deeper cracks, work gradually with coarser then finer grits. Wipe away dust with a damp cloth and let dry.
Apply a thin, even coat of food-safe oil, let it soak, then buff. Repeat until the wood looks uniform and feels smooth; allow a full cure before use.
Safe Oils for Wooden Kitchen Utensils
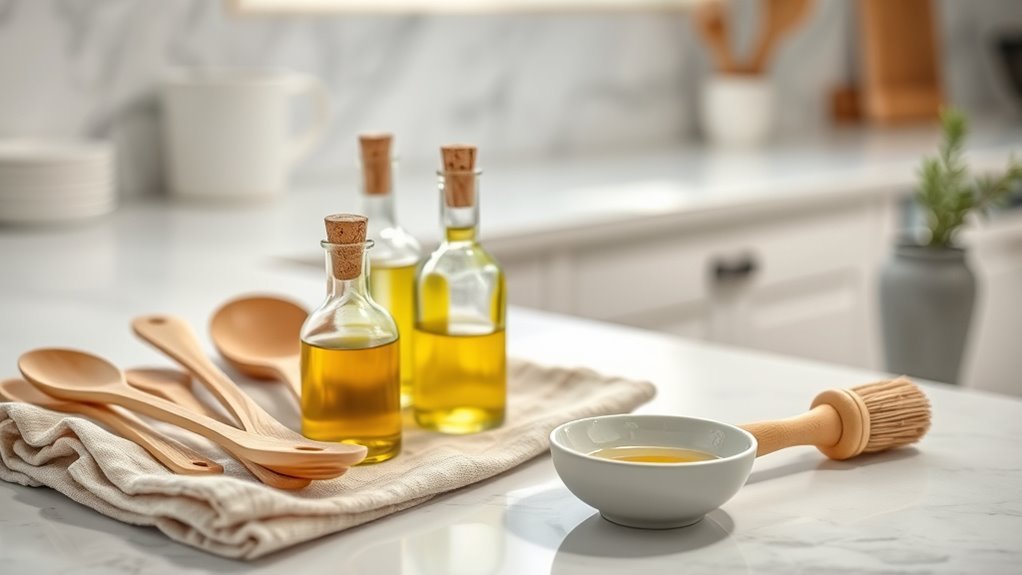
When you pick an oil for your wooden utensils, choose one that’s food-safe and won’t go rancid. Mineral oil is a popular choice because it’s odorless, colorless, and long-lasting.
You can also use stable, food-grade plant oils like refined coconut or walnut oil. However, avoid untreated vegetable oils that can spoil.
Mineral Oil Benefits
Because mineral oil’s molecules won’t polymerize or go rancid, it’s one of the safest, longest-lasting choices for conditioning wooden kitchen utensils. You’ll find it clear, odorless, and inert, so it won’t alter flavors or spoil.
Use food-grade mineral oil, apply sparingly, rub in, let soak, then wipe excess. It seals pores, repels water, and reduces cracking or warping without leaving a sticky film.
Reapply periodically—especially after washing—to maintain protection. It’s inexpensive, widely available, and compatible with finishes you might already have.
If you want a nonreactive, low-maintenance option, mineral oil is a reliable choice.
Food-Safe Plant Oils
Although plant-based oils can offer a natural, food-safe alternative to mineral oil, you need to pick the right ones to avoid rancidity and sticky buildup. You’ll want stable, long-chain oils that resist oxidation: fractionated coconut oil, refined walnut oil (if no nut allergies), and high-oleic sunflower or safflower oils work well.
Avoid unrefined oils like extra-virgin olive or flaxseed; they go rancid fast and can smell. Apply thin coats, wipe off excess, and let the wood cure between applications.
Reapply periodically, especially after washing, to maintain moisture barrier and prevent cracking.
Oils to Avoid and Why
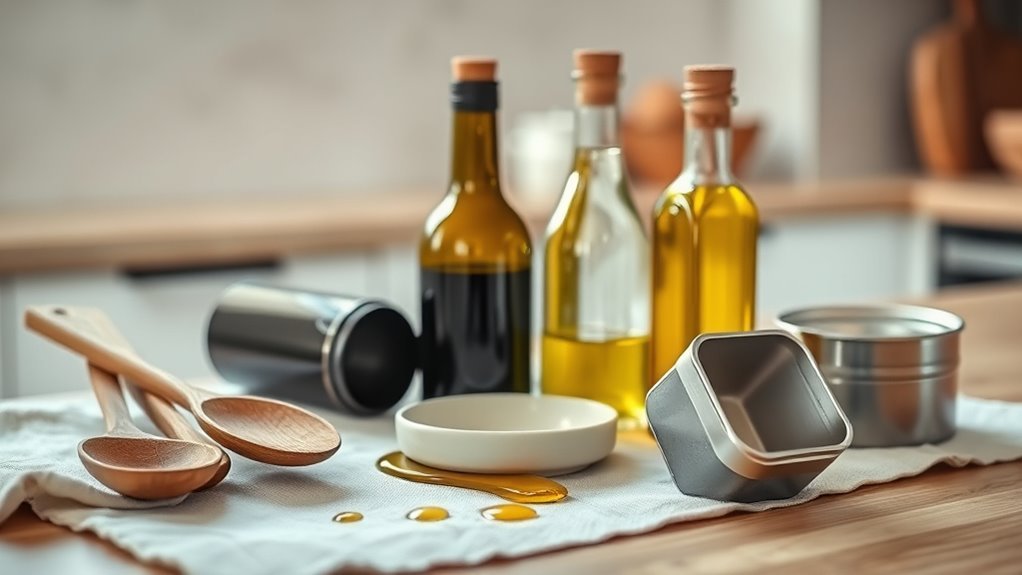
If you want your wooden utensils to stay safe and last, steer clear of oils that go rancid, form sticky films, or contain solvents and additives. You shouldn’t use vegetable oils like canola or corn—they oxidize and smell bad.
Avoid mineral spirits, varnishes, or furniture oils with chemicals; they’re toxic for food contact.
Cocoa or walnut oils can stain or trigger allergies. Instead, pick stable, food-safe finishes discussed earlier.
- Don’t risk rancidity—your kitchen shouldn’t smell sour.
- Don’t accept sticky, gummy surfaces.
- Don’t expose family to solvents.
- Don’t introduce allergenic stains.
How Often to Oil Utensils and Cutting Boards
How often you oil wooden utensils and cutting boards depends on how much you use them—daily tools need oiling every few weeks, while occasional items can wait a couple of months.
You should also give heavily used pieces a seasonal deep oiling to restore moisture and protection.
A quick wipe after washing and regular checks for dryness will tell you when it’s time to reapply.
Frequency By Use
Wondering how often you should oil your wooden utensils and cutting boards? You’ll tailor frequency to use and condition: daily cooks need more care, occasional users less. Check for dryness, roughness, or stains—those signal oil time. Aim for simple routines so tools stay beautiful and safe.
- Light daily users: oil monthly to keep wood happy.
- Heavy daily users: oil every 1–2 weeks to prevent cracking and wear.
- New pieces or after cleaning: oil when surface looks dull.
- Neglected or sanded items: oil immediately, then follow regular schedule.
Trust sights and touch; let them tell you when.
Seasonal Deep Oiling
Alongside regular touch-ups, plan a seasonal deep oiling to reset and protect your wooden utensils and cutting boards for months of use.
Every three to six months, depending on use and climate, thoroughly clean and dry items, then apply a generous coat of food-safe oil (mineral oil, fractionated coconut, or a board cream).
Let oil soak several hours or overnight, wipe off excess, and repeat until wood stops absorbing.
In dry winter months or after heavy washing, shorten the interval.
Keep a simple schedule—seasonal reminders work—and inspect for dryness, cracks, or roughness that signal an earlier treatment.
Step-by-Step Oiling Process at Home
Before you begin, make sure your utensil is clean and completely dry — any dirt or moisture will prevent the oil from penetrating properly. Gather your oil, a lint-free cloth, and a soft brush. Work in a warm, ventilated area.
Rub oil into the grain, following contours and edges, using small circular motions. Let it rest so wood absorbs.
Rub oil into the grain, following contours and edges with small circular motions, then let the wood rest and absorb.
- Feel the smoothness returning, like a small restoration.
- Notice the renewed color and warmth under your hand.
- Take satisfaction in prolonging its life.
- Enjoy the simple ritual of care.
Repeat as needed for maintenance.
Apply Oil Evenly and Remove Excess
Now that the oil’s had time to soak in, spread the remaining oil in thin, even coats so every curve and edge gets covered. Use a lint-free cloth or soft brush and follow the grain; work small areas and rotate the utensil to hit tight spots.
Rub until the surface looks uniformly glossy but not dripping. After a minute or two, wipe away excess with a clean cloth, removing pooled oil from joints and bowls.
Excess left on the surface can attract dust or turn sticky. You want a smooth, satin finish that feels dry to the touch before storing.
Drying, Curing, and When to Use Again
Once you’ve wiped off the excess, let the utensil air-dry flat in a warm, well-ventilated spot out of direct sunlight so the oil can set into the wood. Light airflow speeds surface drying while preventing dust from settling.
Let the oiled utensil air-dry flat in a warm, well-ventilated spot—avoid direct sunlight—until the surface feels matte.
Wait at least 24 hours before light use; fuller curing can take several days depending on oil and humidity. You’ll feel when it’s ready: the surface is matte, not tacky. If needed, buff with a soft cloth.
Take comfort in these signs:
- Quiet satisfaction when the grain looks revived
- Confidence in a smooth, non-sticky finish
- Pride in preserving craftsmanship
- Joy in using a cared-for tool
Care and Washing After Oiling
After the oil has set, treat your wooden utensils gently: wash them by hand in warm water with mild dish soap, rinse quickly, and dry immediately with a towel to prevent swelling or cracking.
Don’t soak or put them in the dishwasher; heat and prolonged water exposure will warp and split the wood.
Occasionally wipe with a soft scrub or plastic brush for stuck food, then dry.
Reapply a light coat of food-safe oil every few months or when the wood looks dry or dull.
Store utensils in a dry, ventilated place away from direct heat to maintain the finish and longevity.
Troubleshooting: Sticky Finish, Uneven Color
If your wooden utensils feel tacky or show uneven color after oiling, don’t panic — this usually comes from excess oil, incomplete curing, or using the wrong product.
You can fix it: wipe off surplus oil with a lint-free cloth, let pieces air in a warm, ventilated spot, and avoid high-humidity storage.
Sand lightly with fine-grit paper if blotches persist, then reapply a thin coat of a food-safe oil and allow full cure time.
If emotions run high, remember the object’s history and value.
Consider these calming steps:
- Breathe, then assess damage
- Remove excess calmly
- Sand gently, patiently
- Reapply thinly and wait
When to Replace Rather Than Repair
When a utensil shows deep cracks, severe warping, persistent food odors, or large missing pieces, you should replace it rather than try to repair it—these issues compromise safety and function and don’t reliably respond to sanding or oiling.
You’ll also replace tools that splinter repeatedly, have exposed glue joints, or absorb stains and smells despite multiple cleanings. Thin, paperlike edges and distorted cooking surfaces can burn or shred food.
If repairs would mask defects rather than restore integrity, don’t bother. Choose a new utensil made from a durable hardwood, then oil and maintain it to extend its useful life.
Frequently Asked Questions
Can I Oil Wooden Utensils Before First Use?
Yes — you should oil wooden utensils before first use to seal, protect, and reduce cracking. Rub food-safe mineral or walnut oil into the wood, let it soak, wipe excess, and repeat until the wood looks evenly nourished.
Are Mineral Oils Food-Grade and Safe for Babies?
Yes, food-grade mineral oil is safe for babies when properly purified and labeled for food contact; you’ll want to use USP or cosmetic-grade mineral oil, avoid scented/treated oils, and reapply as needed to maintain surfaces.
Will Oiling Affect Utensil Flavor Transfer Between Foods?
Yes — oiling reduces flavor transfer by sealing wood pores, so you won’t get as much cross-taste between foods. Use a neutral, food-safe oil and reapply regularly to maintain that protective barrier and minimize absorption.
Can I Mix Different Oils When Re-Oiling?
Yes, you can mix different oils when re-oiling, but don’t combine drying and non-drying oils; stick to food-safe, odorless options and test a small area first, since blends can change absorption and finish unpredictably.
Is Oiling Necessary for Wooden Utensils Used Only Decoratively?
No, it isn’t strictly necessary if the utensils are purely decorative, but you should still oil them occasionally to keep wood from drying, cracking, or fading; untreated wood can deteriorate over time without some protection.
Conclusion
You’ve got this—regular oiling keeps wood strong, food-safe, and less likely to crack or stain. Clean and fully dry utensils first, then rub in a safe oil, let it soak and cure, and buff off any excess. Sand out deep stains or cracks before oiling, and replace anything beyond repair. Follow simple washing and storage habits to extend life. A well-oiled spoon or spatula will serve you well for years.